Tags
diy centerpieces, diy mosaic pots, diy wedding, handmade wedding, how to make mosaic pot, outdoor wedding decor, potted flowers, recycled centerpieces, recycled wedding, wedding centerpieces
Boy! It sure has been a long time since I’ve blogged on here. Life certainly does get in the way! I promise to check in more often from now on and I have plenty of future posts in my mind.
———-
As I am a fan of non-disposable wedding decor, I decided to use potted flowers for my decor. We had potted flowers all over our ceremony and reception space, and of course, as we were outside on our own ranch — lots of flower beds full of blooming flowers! The only cut flowers we had at my wedding were for my bouquet, the bridesmaids’ bouquets, and the corsages. We did have roses entwined in our arbor, but they were from my mom’s garden and they don’t count as they were not store-bought….
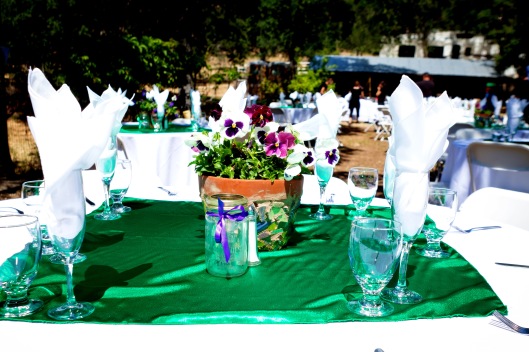
DIY Mosaic Flower Pot centerpiece — before the table cards, place settings, etc were added to the tables
Photo by Lone Pine Photography
This project was one that is VERY time consuming and I definitely recommend that if you are to take this on, to have several people helping you. Honestly, I was not aware of how much time this would take and I probably would not have made these if I had known. In the end, we only made mosaic pots for half of the tables and filled in the rest with clay pots. The end result was just as nice. 🙂
For this project, I scoured flea markets and thrift stores for cheap, old, colorful plates and even had a few chipped or broken ones of my own that I saved. I picked out plates in my wedding colors, along with a few other bright colors mixed in. I bought my clay pots as Lowes, but you could find recycled ones at thrift stores.
Materials Needed:
- Ceramic plates, tiles, etc.
- Clay Pots
- Glue (We found SuperGlue to be the best)
- Cement grout (and tools to adhere it)
- LOTS OF HELP!!!
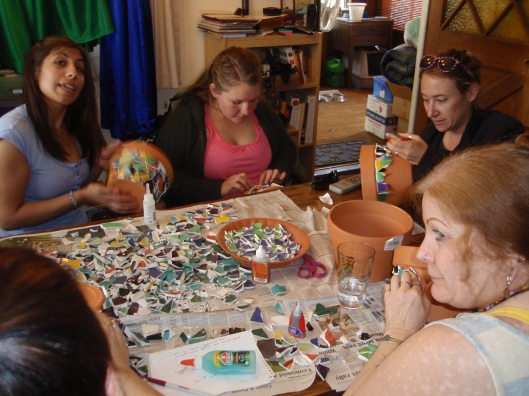
First, you need to break the plates! We put a couple of plates in a pillowcase and took them out on the concrete sidewalk and busted a move on them with some hammers. It certainly is a way to get your aggression out! They need to broken into small pieces, but not too small. Then we emptied the fragments into a plastic container.
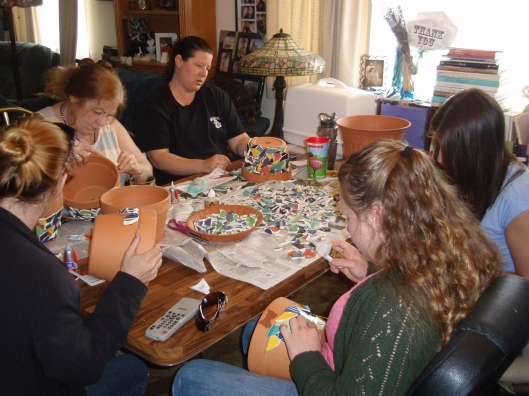
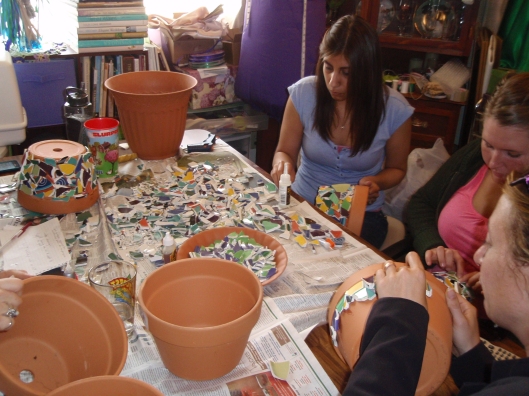
Set up a table with a bunch of newspaper and paper towels and give each of your friends a pot. Make sure that you supply them with food, beverages, and movies or music!
We tried several different types of glue that are used for gluing ceramics and after some trial and error, found that super glue worked the best. On surface like a pot, that is round, you want the glue to adhere fast. With other glues, we had to hold the piece down for it to dry and that didn’t work as well. Make sure you have A LOT of super glue! At least one for each person will do. I had to run to the store in the middle of our mosaic-makin’ day to get more glue — and a store is not just around the corner from my house…..
It’s very easy to make the mosaic pots once you start gluing. The hard part is finding the pieces to fit with each other. Everyone made their own design and chose whatever color scheme they wanted and each girl wrote her name on the bottom of each pot with sharpie, so we knew who did what, in case they wanted to take theirs home after my wedding. The pots sat around for about a week or so after the ceramic pieces were glued on before the next process took place.
Next, I used the grout I purchased at Lowe’s to fill in the spaces between the ceramic pieces. It also helps to adhere the mosaics better onto the pot. Grout comes in a lot of colors — I just chose a sand one for myself. Follow the directions on the grout packaging to make it. I mixed my grout in a big old plastic bucket, mixed water in, and stirred it with a big stick. Bext, I took my trowel and slapped the grout on the pots, making sure that I got in the areas between the ceramic pieces. Then, I wiped the grout away from the ceramic pieces so they didn’t become to encrusted with grout. That kind of evens it out if you use paper towels or rags to smooth it all. When it dries a little, shine the ceramic pieces some more with a paper towel and then let them sit for a couple days. And then you’re done!
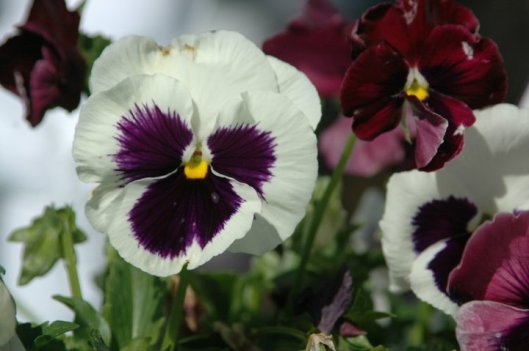
I planted pansies in my pots as they are my favorite flowers. We custom ordere ours from our local feed store and I planted them all in both our mosaic pots and our plain clay pots.
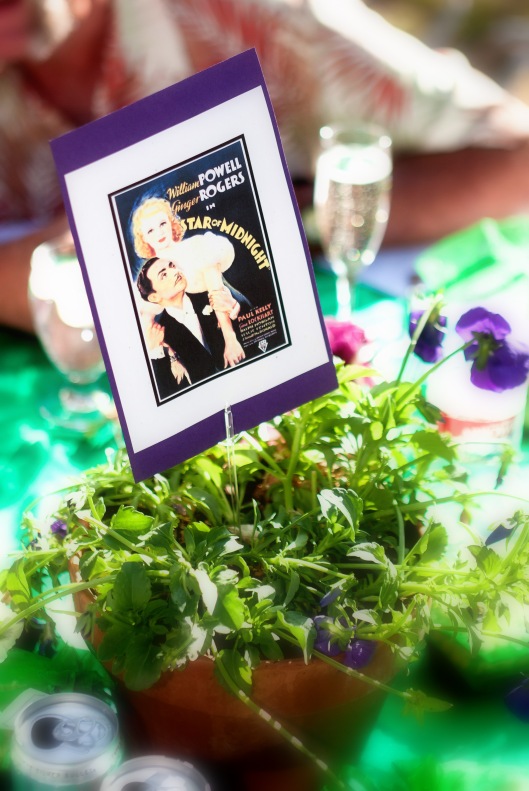
And then our vintage movie poster table cards were stuck into each pot, and with an emerald green satin fabric square in the middle of each table, it completed each centerpiece. 🙂
And after your wedding, instead of tossing all of the flowers like you would do if they were cut — you can re-use them! You can have your centerpiece pots all around your house for a remembrance of your wedding day for years to come.
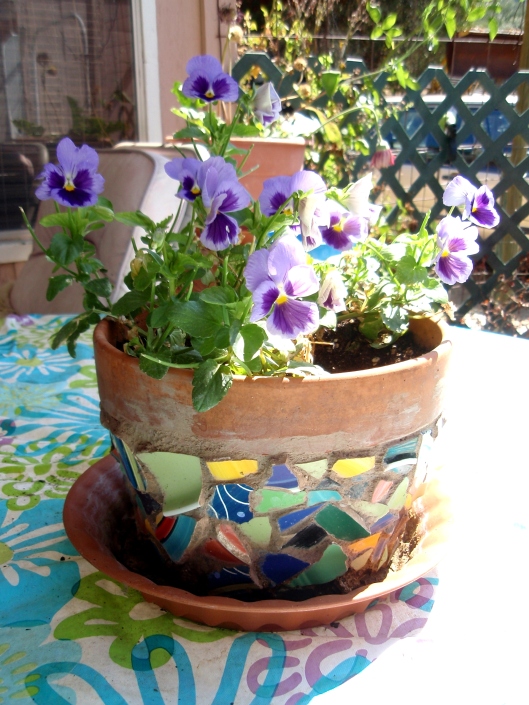
This one is sitting on a table in our patio with pansies blooming in it over a year after our wedding. 🙂

Pingback: Vintage Movie Poster Table Cards « The Art Nouveau Bride
Very pretty – I love this idea!
Pingback: Planting Seed Starts & Refinishing a Bench | mrs. hughes